
Article: Candle Care Guide for Beginners
Candle Care Guide for Beginners
7 tips to get the most out of your candle
There's something a little sad about a tunnelled candle — that hollow crater that forms down the middle when a candle hasn't been burned long enough on its first burn, leaving a thick ring of wax around the edges that never gets used. It happens more often than you'd think, and almost always because of one avoidable mistake right at the beginning. The good news is that caring for a candle is genuinely simple. A few small habits make the difference between a candle that burns beautifully from start to finish and one that gives up halfway through.
1. The first burn is the most important
Candle wax has what's called a "burn memory." The first time you light a candle, the wax melts outward from the wick and forms a pool on the surface. That pool sets the template for every burn that follows — if you extinguish the candle before the melt pool reaches the edges of the vessel, the wax will remember that boundary and never burn past it. The result is tunnelling.
The fix is simple: on the first burn, let your candle burn long enough for the entire surface to become a full, even pool of liquid wax. For a standard glass candle, this usually takes two to three hours. It's worth the patience.
2. Trim your wick before every burn
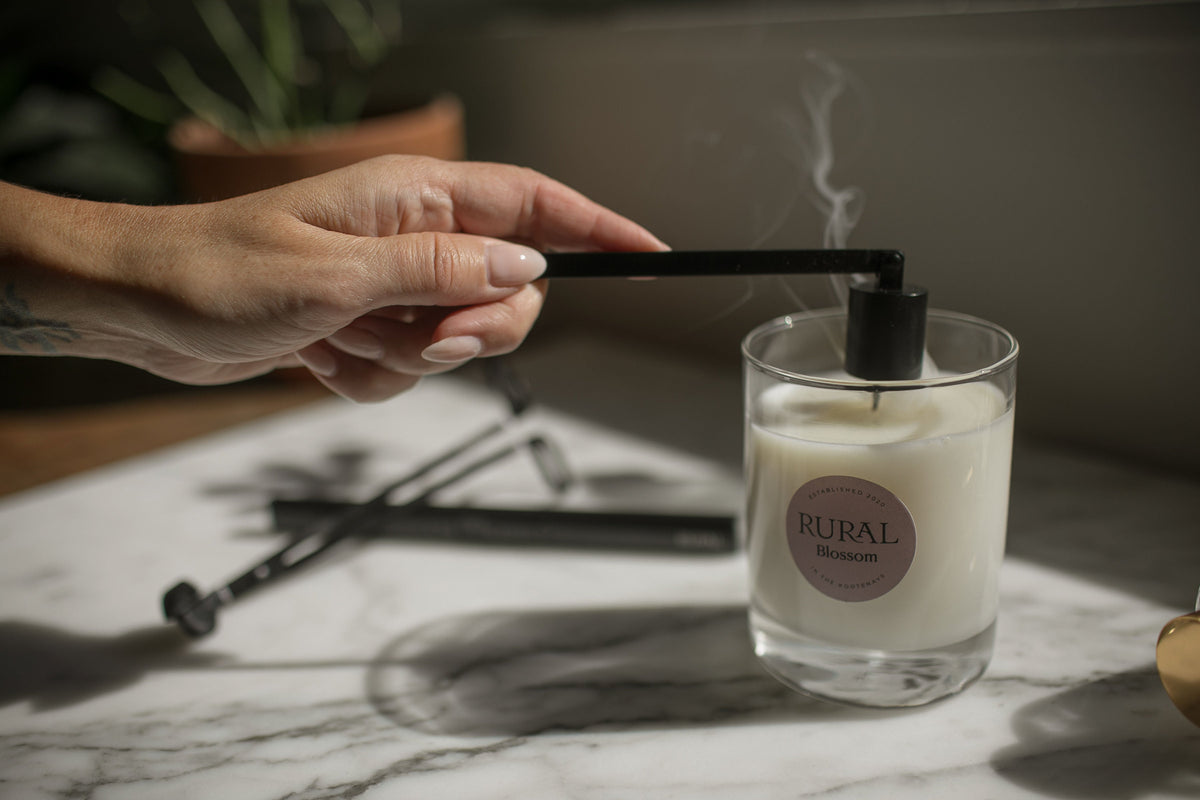
A long wick produces a large, flickering flame that burns through wax too quickly, produces excess soot, and can cause your candle vessel to overheat. Before each burn, trim your wick to approximately ¼ inch.
You don't need a special wick trimmer, though they are a lovely thing to own. A pair of scissors works perfectly well, or for the wood wicks, you can simply break off the burnt bits with your fingers and a tissue. Just make sure to remove the trimmed piece from the wax before lighting.
3. Keep it away from drafts
A candle burning near an open window, a fan, or an air vent will burn unevenly — one side of the wax melts faster than the other, the flame flickers and smokes, and the scent throw can be diminished. Find a still spot where the flame can burn steadily, and the fragrance can fill the room the way it was meant to.
4. Don't burn for too long at a stretch
Four hours is the maximum recommended burn time for a single session. Beyond that, the wick can become too long and mushroom at the tip, the vessel can overheat, and the fragrance quality can start to deteriorate. Let the candle cool completely — at least two hours — before relighting.
5. Know when to stop
When there's approximately ¼ inch of wax remaining at the bottom of the vessel, it's time to retire the candle. Burning below that level can cause the vessel to overheat. It's also a sign that your candle has had a full and beautiful life — which is exactly what you want.
6. What to do with the vessel
One of the loveliest things about a quality candle vessel is that its life doesn't end when the wax does. Once your candle is finished, place the vessel in the freezer for a few hours. The remaining wax will contract and pop out cleanly, leaving you with a beautiful glass container to repurpose however you like — a small planter, a pencil holder, a bathroom organizer, a vessel for loose tea. A little warm, soapy water will remove any residue.
If you're in the Vancouver area and have more vessels than you can repurpose at home, we offer a Vessel Return Program — bring them back to us, and we'll clean and reuse them for the next batch of candles. For each vessel returned, we'll give you a $1 credit toward your next purchase.
7. A note on storage
If you're not burning a candle for an extended period, store it somewhere cool and dark — away from direct sunlight, which can fade the fragrance and discolour the wax. Keep the lid on if it has one, or cover it loosely to keep dust off the surface.
Candles are simple things, but they reward a little care. Burn them well, and they'll give you everything they have.